
The Free Jewel Case Template for Word You’ll Ever Need
Are you a musician, software developer, or anyone looking to create professional-looking CD or DVD jewel case inserts? Searching for a user-friendly and cost-effective solution? Look no further! This comprehensive guide provides everything you need to craft stunning jewel case inserts using a readily available tool: Microsoft Word. We’ll explore the benefits of using a free jewel case template, guide you on how to download and use it, and offer tips for creating visually appealing designs. Say goodbye to expensive software and complicated layouts; this is the resource for creating professional-grade jewel case inserts with ease.
Why Use a Free Jewel Case Template for Word?
Choosing a free jewel case template for Word offers several advantages, making it a smart choice for both beginners and seasoned users:
- Cost-Effective: Eliminate the need for expensive design software. Word is often readily available.
- Ease of Use: Word’s intuitive interface makes it easy to navigate and edit templates, even without prior design experience.
- Customization: Templates are usually fully customizable, allowing you to adapt them to your specific needs, including adding text, images, and logos.
- Accessibility: Word is widely accessible, making it simple to share and collaborate on designs.
- Professional Results: Achieve a polished and professional look for your CD or DVD packaging without the complexity of other programs.
Finding and Downloading Your Free Jewel Case Template
The first step is to locate a reliable source for a free jewel case template compatible with Microsoft Word. Here’s a simple guide:
- Search Online: Use search terms like “free jewel case template Word,” “CD insert template Word,” or “DVD case template Word.”
- Choose a Reputable Source: Look for websites offering free templates, such as template providers, design blogs, or educational resource sites.
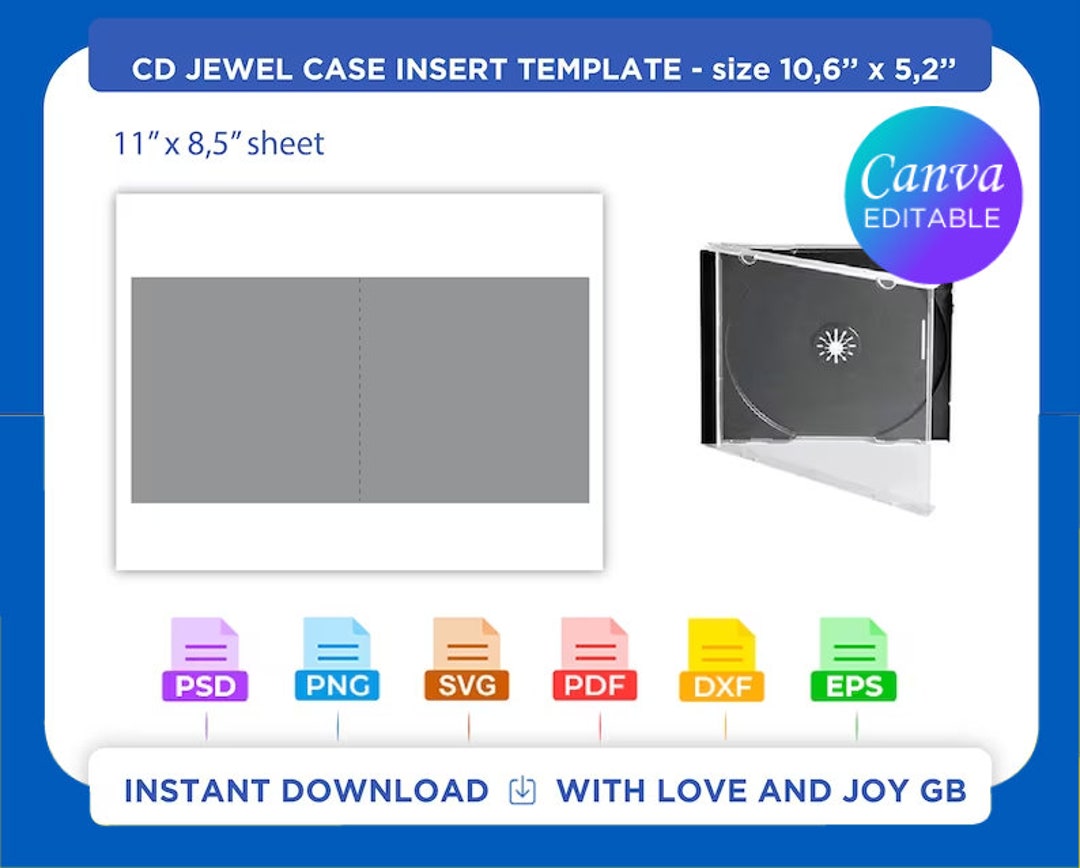
- Download the Template: Download the template file, usually in a .doc or .docx format.
- Check for Compatibility: Ensure the template is compatible with your version of Microsoft Word.
Important Considerations When Downloading:
- File Size: Ensure the file size is reasonable to avoid potential issues.
- Virus Scan: Scan the downloaded file with your antivirus software before opening it to protect your system.
- Review the License: Pay attention to any licensing terms or usage restrictions associated with the template.
How to Use Your Jewel Case Template in Word: A Step-by-Step Guide
Once you have downloaded your template, follow these steps to create your jewel case inserts:
- Open the Template: Open the downloaded .doc or .docx file in Microsoft Word.
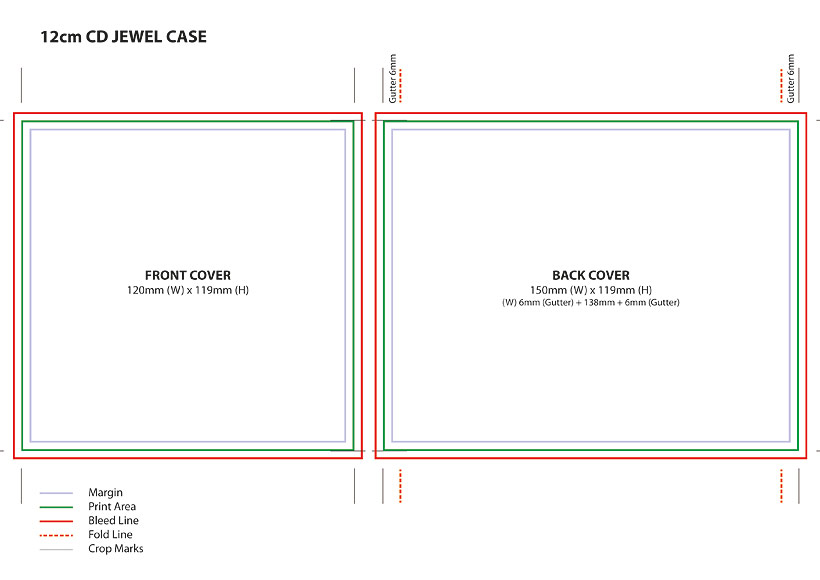
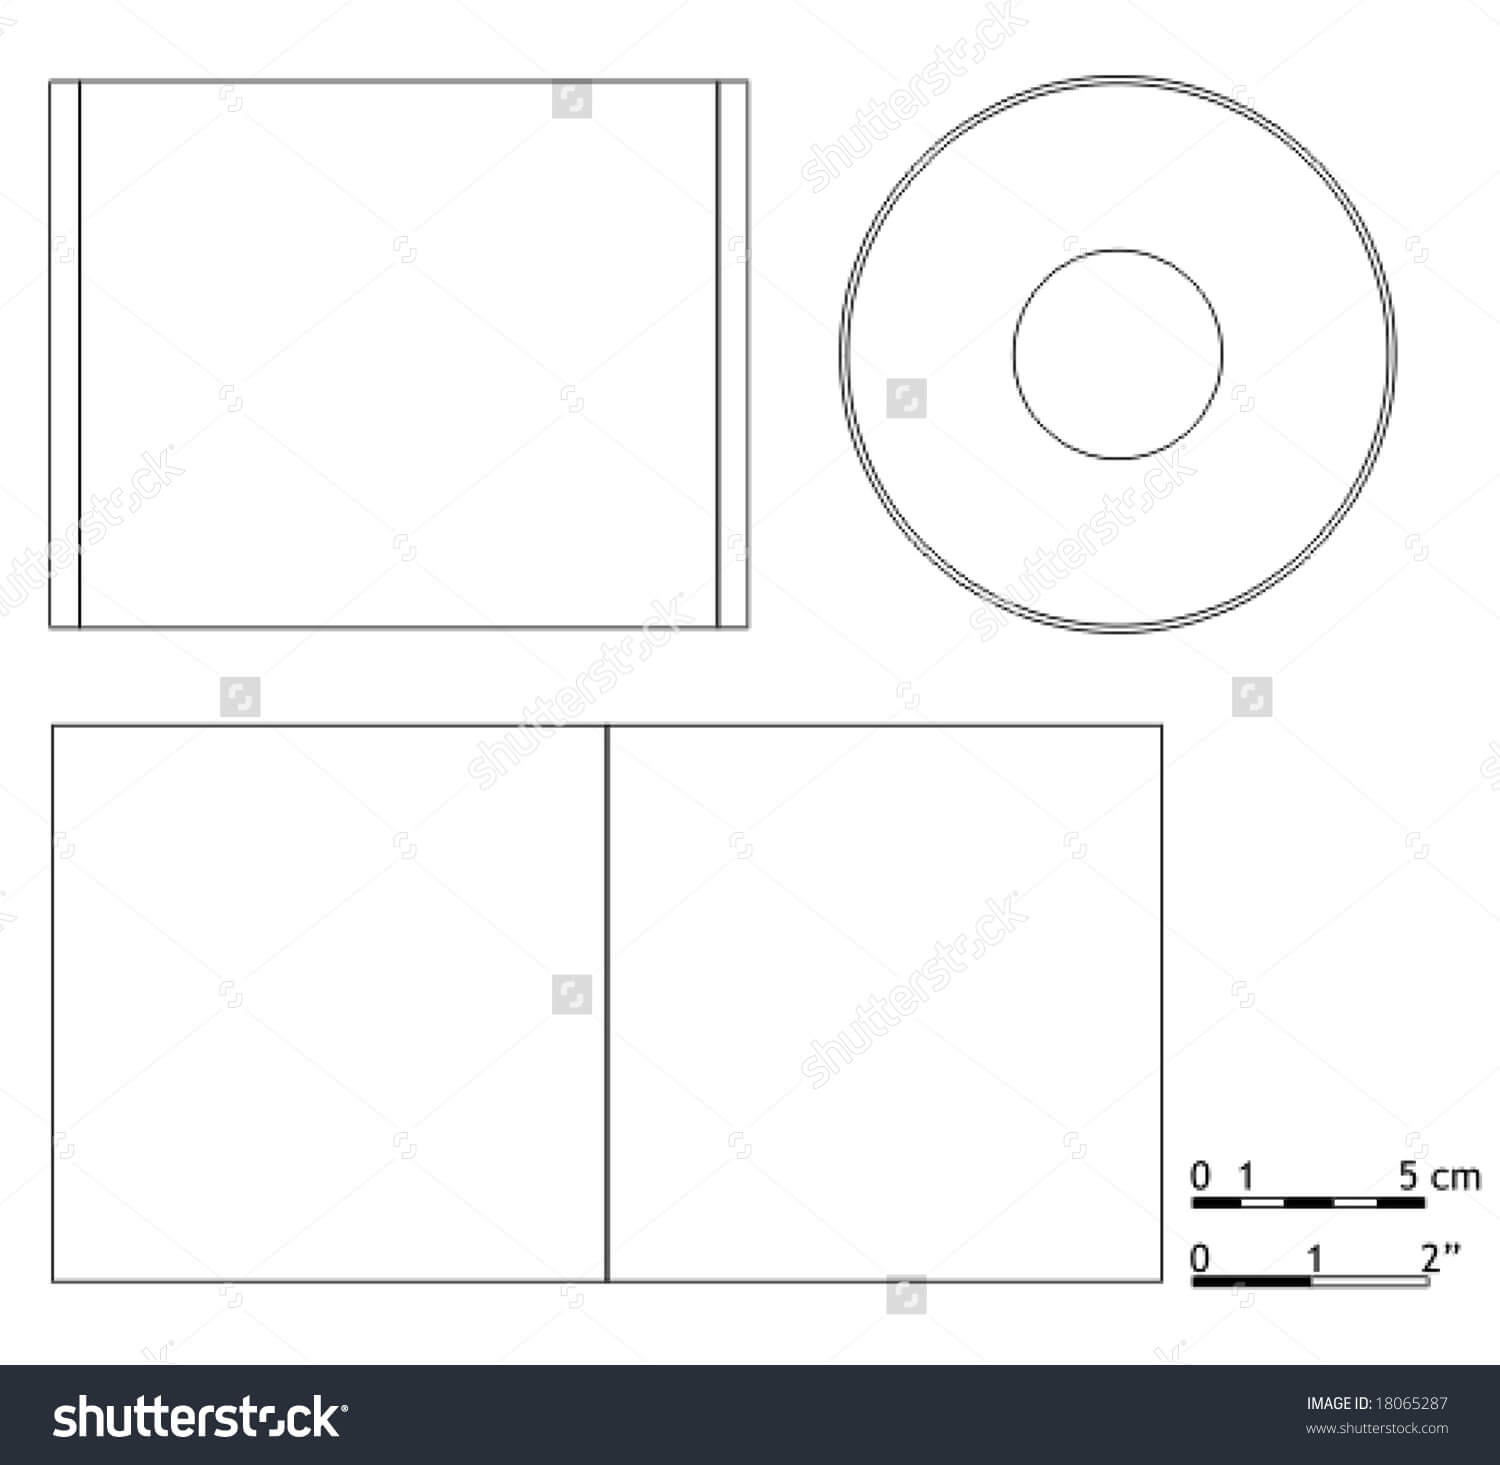
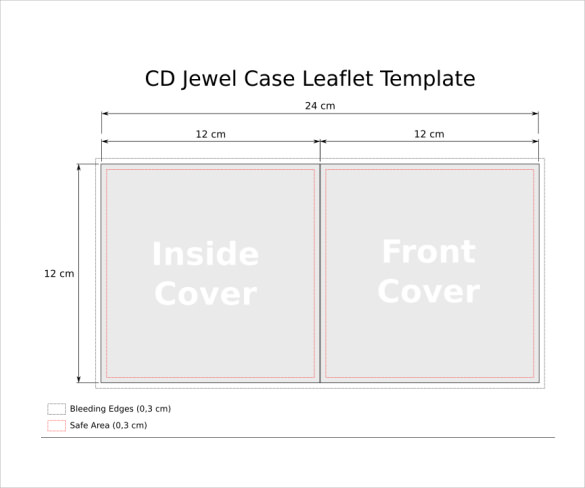
- Familiarize Yourself with the Layout: The template will typically include guides for the front cover, spine, and back cover. Understand the dimensions and placement of these sections.
- Add Your Content:
- Front Cover: Insert your album artwork, logo, and title.
- Spine: Add the album title, artist name, and any other relevant information.
- Back Cover: Include the tracklist, copyright information, and any additional details.
- Customize the Design:
- Text: Change the font, size, and color of the text.
- Images: Insert your images and resize them to fit the designated areas.
- Background: Experiment with background colors, patterns, or images.
- Proofread Carefully: Thoroughly check for any spelling or grammatical errors.
- Save Your Work: Save your completed design as a .doc or .docx file.
- Print Your Inserts: Print your jewel case inserts on high-quality paper, preferably photo paper, for the best results. Consider using a printer with high-resolution capabilities.
- Trim and Assemble: Carefully trim the inserts along the designated lines and assemble them into your jewel case.
Tips for Creating Professional-Looking Jewel Case Inserts
Here are some tips to enhance your jewel case design:
- High-Resolution Images: Use high-resolution images to avoid pixelation.
- Color Consistency: Maintain consistent colors throughout your design.
- Font Selection: Choose readable and visually appealing fonts.
- White Space: Utilize white space effectively to create a clean and uncluttered look.
- Alignment: Ensure all elements are properly aligned.
- Professional Printing: Consider using a professional printing service for high-quality results if you lack a suitable printer.
- Bleed Area: Understand the concept of a bleed area and design accordingly to avoid white edges after trimming.
Conclusion: Your Path to Professional Jewel Case Inserts
Using a free jewel case template for Word provides a simple, cost-effective, and accessible solution for creating professional-looking CD and DVD packaging. By following the steps outlined in this guide, you can create stunning inserts that showcase your work. Embrace the power of free resources and unlock your creative potential!
Frequently Asked Questions (FAQs)
Where can I find a good free jewel case template for Word?
Search online using terms like “free jewel case template Word” or “CD insert template Word.” Popular websites like template providers, design blogs, and educational resource sites often offer free downloads.
What paper should I use for printing my jewel case inserts?
For the best results, use high-quality photo paper or glossy paper. This will ensure vibrant colors and a professional finish.
How do I ensure my images don’t look blurry when printed?
Use high-resolution images (at least 300 DPI) and ensure they are the correct size for your template’s dimensions.
What is a “bleed area” and why is it important?
A bleed area is the extra space around the edges of your design that extends beyond the trim lines. It’s important to include a bleed area to prevent white edges after the inserts are trimmed, ensuring a clean and professional look.
What if I don’t have Microsoft Word?
While this guide focuses on Microsoft Word, many free or open-source word processing programs, such as LibreOffice Writer or Google Docs, may also offer template compatibility. You might need to adjust the template slightly.
