

Upgrade Your Ride: A Comprehensive Guide to Installing a Radio and Navigation System in Your Ford Focus MK2
The Ford Focus MK2, a popular and reliable vehicle, can be significantly enhanced with a modern radio and navigation system. Whether you’re looking to ditch the outdated factory setup or simply crave features like Bluetooth, Apple CarPlay, Android Auto, and turn-by-turn directions, this guide will walk you through the process of installing a new head unit in your Ford Focus MK2. We’ll cover everything from choosing the right equipment to the final connections, ensuring a smooth and successful upgrade.
This guide is designed to be informative and helpful, but it is crucial to remember that working with automotive electrical systems carries inherent risks. If you are not comfortable with this type of work, it is highly recommended to seek professional installation.
What You’ll Need: Gathering Your Supplies
Before you begin, ensure you have all the necessary components and tools. This will streamline the installation process and minimize frustration.
- New Head Unit (Radio/Navigation System): Choose a unit compatible with your Ford Focus MK2’s dash opening. Consider features like:
- Screen size (typically 6.2" or larger)
- Apple CarPlay/Android Auto compatibility
- Bluetooth connectivity
- GPS navigation (built-in or smartphone integration)
- USB and AUX inputs
- Amplifier outputs (if planning for future audio upgrades)
- Wiring Harness Adapter: Specifically designed for the Ford Focus MK2. This adapter plugs into your car’s factory wiring and connects to the new head unit, eliminating the need to cut or splice wires. Make sure to purchase a harness compatible with your vehicle’s specific trim and audio system (e.g., basic audio, premium sound system).
- Dash Kit (Faceplate Adapter): This fills the gap around the new head unit, providing a clean and professional appearance. Select a kit that matches the color and style of your dashboard.
- Antenna Adapter: You may need an antenna adapter to connect your car’s antenna cable to the new head unit.
- Tools:
- Screwdrivers (Phillips head and flathead)
- Trim removal tools (plastic pry tools are recommended to avoid scratching the dashboard)
- Wire strippers/crimpers (if any wiring modifications are required - which is typically not the case with a proper adapter)
- Electrical tape
- Gloves (optional, for cleanliness)
- Instruction manuals for both your car and the new head unit
Step-by-Step Installation Guide: Getting Started
Follow these steps to install your new radio and navigation system:
- Disconnect the Battery: This is a critical safety precaution. Disconnect the negative (-) terminal of your car’s battery to prevent electrical shorts. Use a wrench to loosen the nut and remove the cable from the battery terminal.
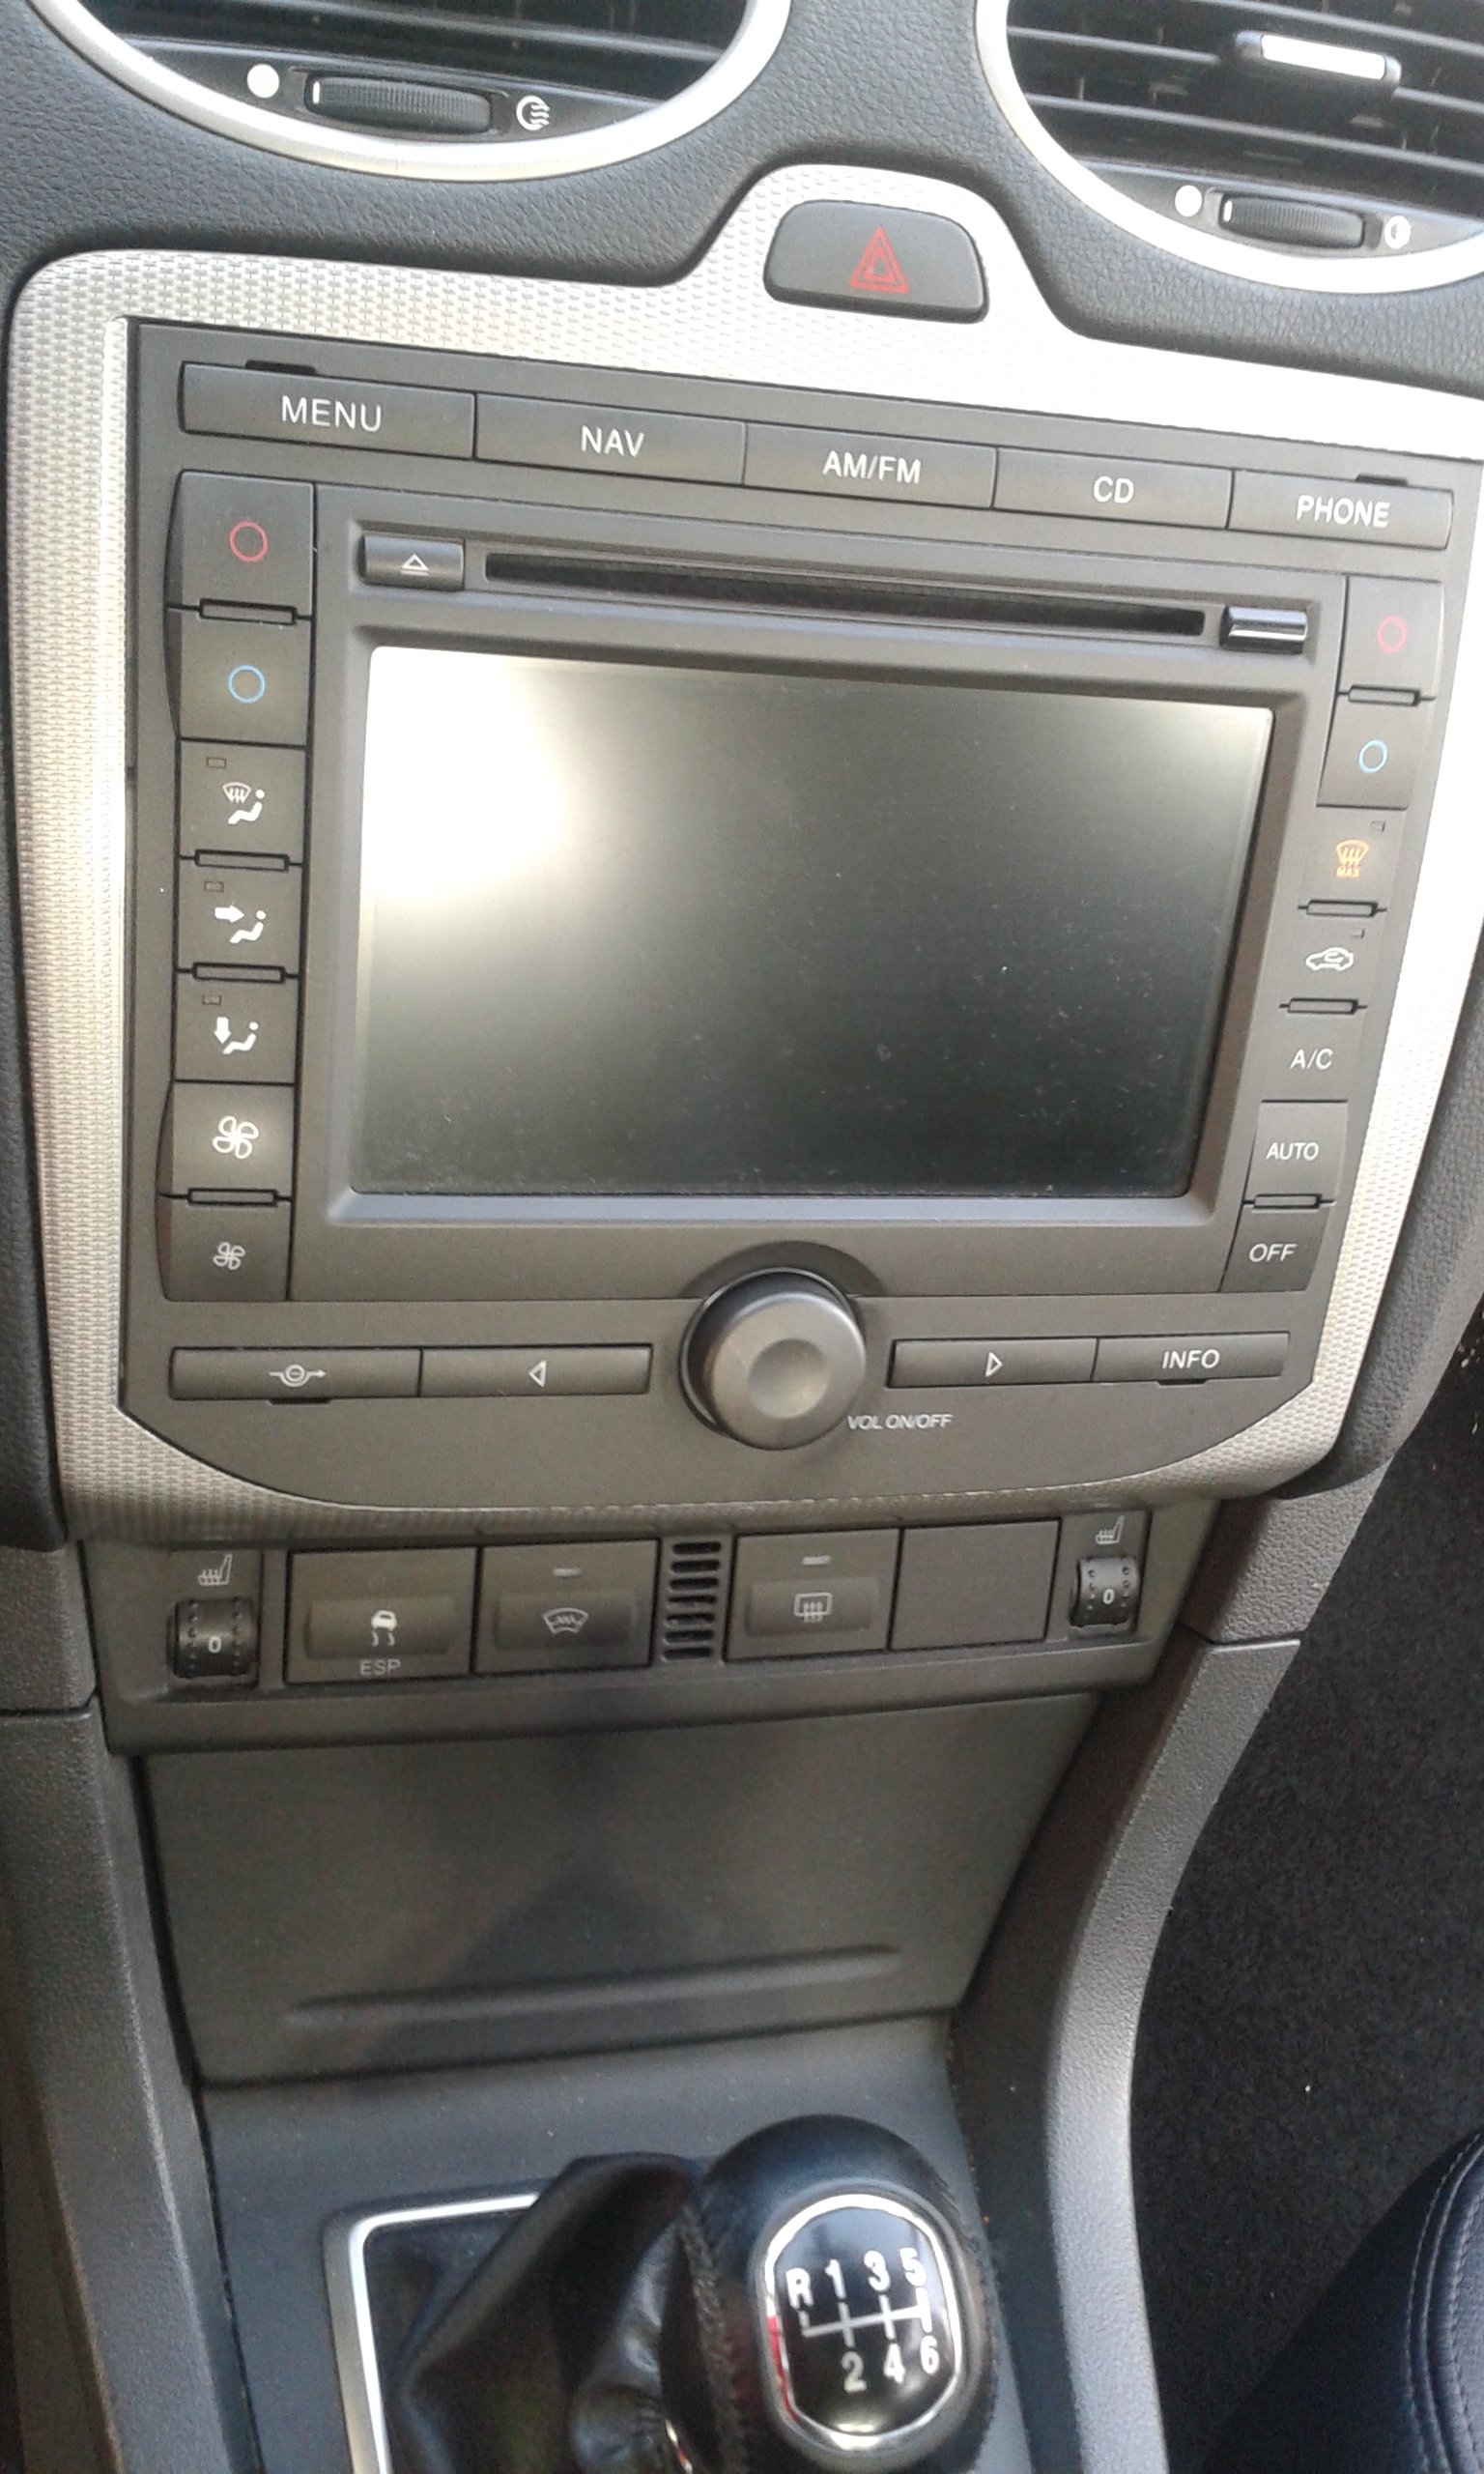
- Remove the Old Head Unit:
- Use trim removal tools to carefully pry off the trim surrounding the factory radio. Be gentle to avoid damaging the dashboard.
- Locate and remove the screws securing the factory radio to the dashboard.
- Gently pull out the old radio and disconnect any wiring harnesses and antenna cables from the back.
- Prepare the New Head Unit:
- Connect the wiring harness adapter to the wiring harness of your new head unit. Consult the manuals for both the head unit and the wiring harness for proper connections. Incorrect wiring can damage your head unit or your car’s electrical system.
- Connect the antenna adapter (if required).
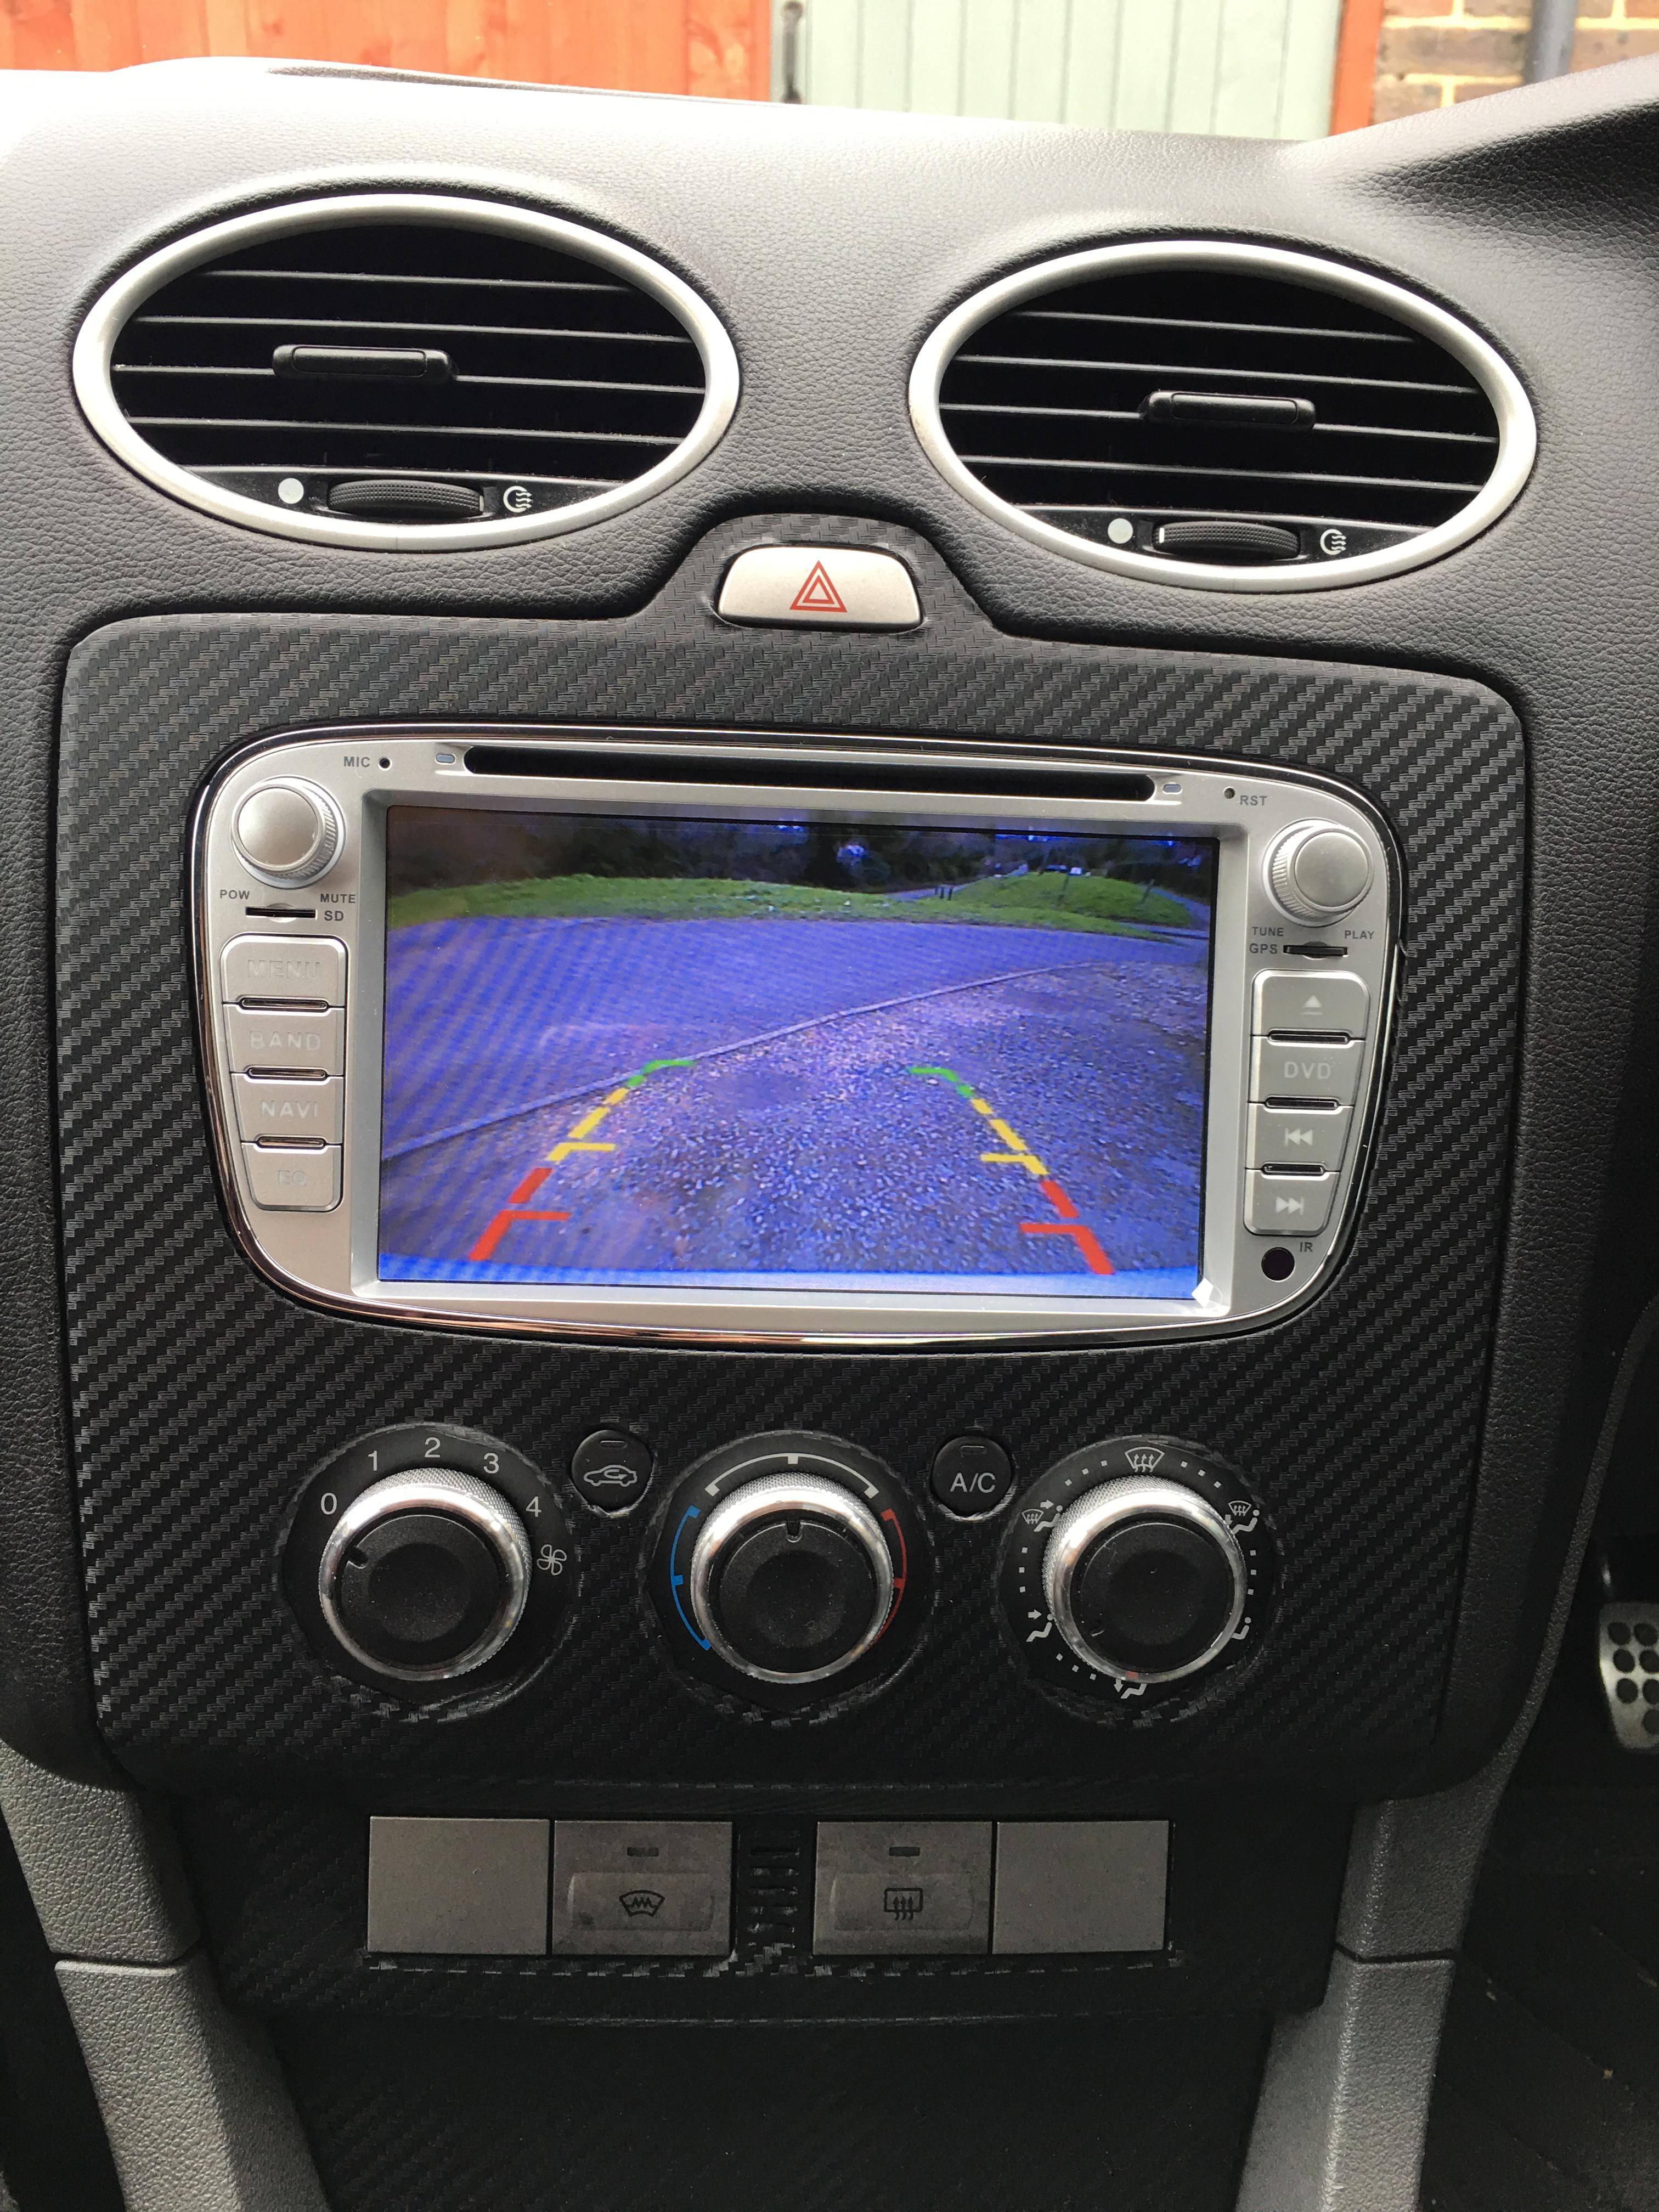
- Mount the New Head Unit:
- Insert the dash kit into the dashboard opening.
- Carefully slide the new head unit into the dash kit.
- Secure the head unit with the screws provided in the dash kit or head unit.
- Connect the Wiring:
- Plug the wiring harness adapter into the factory wiring harness in your car.
- Connect the antenna cable.
- Reconnect the Battery: Reconnect the negative (-) terminal of the car battery.
- Test the System:
- Turn on the ignition.
- Test the new head unit’s functions, including the radio, Bluetooth, navigation (if applicable), and any other features.
- Ensure all speakers are working correctly.
- Final Touches:
- If everything is working, carefully tuck the wiring behind the head unit.
- Reinstall any trim panels you removed earlier.
- Clean up your work area.
Troubleshooting Common Issues
- No Power: Double-check the wiring connections, especially the ground wire. Ensure the fuse for the head unit is intact.
- No Sound: Verify that the speaker wires are connected correctly. Check the fader and balance settings on the head unit.
- Poor Radio Reception: Ensure the antenna cable is securely connected. Try using an antenna booster if reception is still poor.
- Navigation Not Working: Make sure the GPS antenna is properly installed and has a clear view of the sky.
Important Considerations
- Steering Wheel Controls: If your Ford Focus MK2 has steering wheel controls, you may need an additional adapter to retain their functionality. Research adapters specifically designed for your car and head unit.
- Backup Camera: If your car has a backup camera, you may need a separate adapter to integrate it with the new head unit.
- Professional Installation: If you are unsure about any aspect of the installation, or if you are uncomfortable working with electrical systems, consider seeking professional installation services.
Conclusion: Enjoy the Upgrade
Installing a new radio and navigation system in your Ford Focus MK2 can significantly enhance your driving experience. By following these steps carefully, you can successfully upgrade your audio system and enjoy the latest features. Remember to prioritize safety, take your time, and consult the manuals for both your car and the new head unit. With a little patience and the right tools, you can transform your car’s interior and enjoy a more modern and connected driving experience.
Frequently Asked Questions (FAQs)
- Q: Will I need to cut any wires to install the new head unit?
- A: Ideally, no. A wiring harness adapter is designed to plug directly into the factory wiring, eliminating the need to cut or splice wires. Always use a proper adapter for your Ford Focus MK2.
- Q: How long will it take to install a new head unit?
- A: The installation time can vary depending on your experience and the complexity of the head unit. Allow for 2-4 hours for a first-time installation.
- Q: What happens if I connect the wires incorrectly?
- A: Incorrect wiring can damage your new head unit, your car’s electrical system, or both. Always double-check your wiring connections and consult the manuals.
- Q: Can I install a head unit with a larger screen than the original?
- A: Yes, as long as the head unit fits within the dimensions of the dash kit and there’s sufficient space behind the dashboard. Check the specifications of both the head unit and the dash kit before purchasing.
- Q: Will I lose any features from the original radio?
- A: You may lose certain factory features, such as the ability to display the radio information on the instrument cluster, depending on the head unit and the presence of compatible adapters. However, you’ll gain significantly more features like Bluetooth, CarPlay, Android Auto, and navigation.
