


2006 Xterra Trailer Wiring Harness Installation Made Simple: A Step-by-Step Guide
So, you’re ready to tow with your rugged 2006 Nissan Xterra? Great! Whether you’re hauling a small utility trailer, a boat, or something in between, a functional trailer wiring harness is absolutely essential. This guide provides a clear, step-by-step approach to installing a trailer wiring harness on your 2006 Xterra, ensuring you can safely and legally tow your cargo. We’ll break down the process, making it easy to understand even for those with limited automotive experience. This article is tailored to address the search intent of individuals looking to install a trailer wiring harness on their specific vehicle.
Understanding the Importance of a Trailer Wiring Harness
Before diving into the installation, let’s quickly cover why a trailer wiring harness is crucial:
- Safety: It allows your trailer’s lights (brake lights, turn signals, and running lights) to function, signaling your intentions to other drivers. This prevents accidents.
- Legality: In most regions, it’s a legal requirement to have working trailer lights.
- Convenience: Provides power to your trailer for safety and potentially other features like electric brakes (depending on your trailer and wiring).
Selecting the Right Trailer Wiring Harness for Your 2006 Xterra
Choosing the correct wiring harness is the first critical step. For your 2006 Xterra, you’ll want a “T-connector” or “plug-and-play” style harness. These harnesses are designed to tap directly into your existing taillight wiring, making installation much simpler than traditional hardwiring.
- Key Considerations:
- Type: Look for a 4-pin or 7-pin connector, depending on your trailer’s needs. Most smaller trailers use a 4-pin connector (lights only), while larger trailers often utilize a 7-pin connector (lights, electric brakes, and auxiliary power).
- Brand: Choose a reputable brand like CURT, Tekonsha, or Draw-Tite for quality and reliability.
- Fitment: Ensure the harness is specifically designed for a 2006 Nissan Xterra. Double-check the product description for compatibility.
Step-by-Step Installation Guide
Now, let’s get to the installation! Here’s a simplified, step-by-step guide:
Gather Your Tools and Materials:
- Trailer wiring harness (specifically for a 2006 Xterra)
- Pliers or a trim removal tool (optional, but helpful)
- Work gloves (optional)
- Flashlight (helpful in low-light conditions)
Locate the Taillight Connectors:
- Open your Xterra’s rear hatch.
- Locate the taillight assemblies. They are typically held in place by a few screws or clips. Refer to your owner’s manual for specific instructions on removing the taillight assemblies.
- Carefully remove the taillight assemblies.
Connect the T-Connectors:
- Identify the factory wiring harness connectors on your Xterra’s taillight wiring.
- Unplug the factory connectors from the taillight assemblies.
- Plug the corresponding connectors from the trailer wiring harness into the factory connectors (one for each taillight). These are designed to fit in a specific orientation, so they should only connect one way.
- Plug the factory taillight assemblies back into the connectors provided by the trailer wiring harness.
Mount the Trailer Wiring Connector:
- Locate the trailer wiring connector (the part that plugs into your trailer) on the harness.
- Decide on a mounting location. Popular locations include the hitch receiver or near the bumper.
- Use the provided hardware (usually screws or clips) to securely mount the connector. Ensure it’s accessible and protected from the elements.
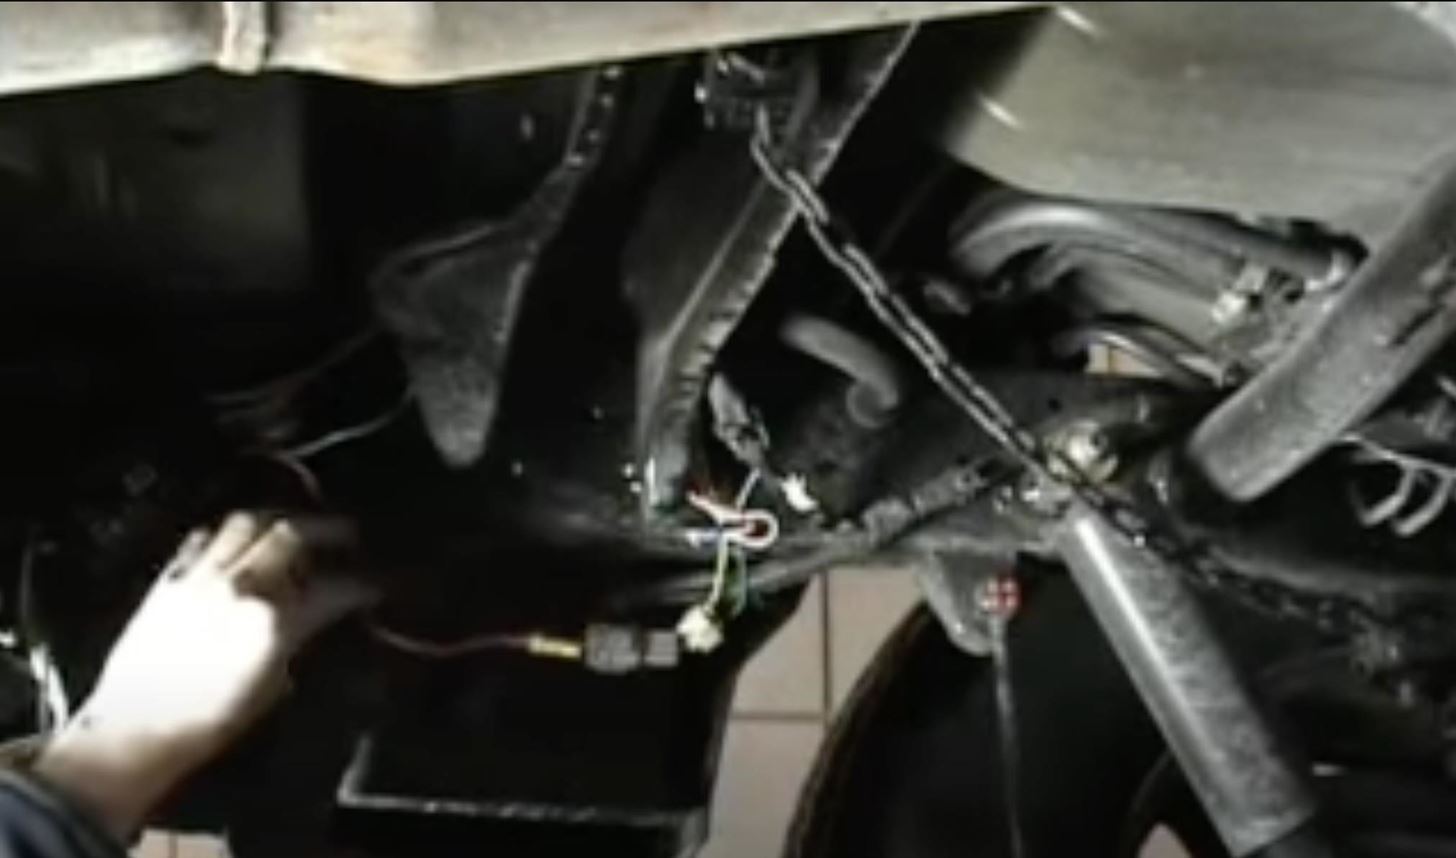
Route and Secure the Wiring:
- Route the wiring from the T-connectors to the mounting location of the trailer connector.
- Use cable ties or zip ties to secure the wiring along the frame of your Xterra, keeping it away from moving parts, sharp edges, and the exhaust system. Ensure the wiring is not hanging down and is protected from road debris.
Test the Wiring:
- Connect your trailer to the new wiring harness.
- Have a helper operate your Xterra’s lights (brake lights, turn signals, running lights).
- Verify that all trailer lights function correctly. If any lights are not working, double-check your connections and consult the wiring harness instructions.
Reassemble and Final Checks:
- Reinstall the taillight assemblies.
- Double-check all connections and ensure the wiring is securely routed.
- Make a final visual inspection to confirm everything is properly installed.
Troubleshooting Common Issues
- Lights Not Working: Double-check all connections, ensuring they are securely plugged in. Verify that your trailer’s bulbs are functioning correctly. Check the fuses in both your Xterra and the trailer.
- Flickering Lights: This could indicate a loose connection or a problem with the trailer’s wiring. Inspect the wiring and connections for any corrosion or damage.
- Short Circuit: If you suspect a short circuit, disconnect the trailer from the harness and inspect the wiring for any damage. Replace any damaged wires or connectors.
Conclusion
Installing a trailer wiring harness on your 2006 Xterra doesn’t have to be a daunting task. By following these simple steps and taking your time, you can safely and effectively equip your vehicle for towing. Remember to always prioritize safety and ensure your trailer lights are functioning correctly before hitting the road. Happy towing!
FAQs
1. Do I need to disconnect the battery before installing the trailer wiring harness?
While not strictly necessary with most plug-and-play harnesses, disconnecting the negative terminal of your battery is a good safety precaution to prevent any potential electrical shorts, especially if you’re working with metal tools near exposed wiring.
2. What if my trailer has electric brakes?
If your trailer has electric brakes, you’ll need a 7-pin wiring harness and an electric brake controller installed in your Xterra. This is a more complex installation, typically requiring professional assistance.
3. Where can I find the instructions for my specific trailer wiring harness?
The instructions should be included in the packaging of your trailer wiring harness. If you’ve lost them, you can often find them online on the manufacturer’s website by searching for the harness’s part number.
4. Can I install the trailer wiring harness myself, or do I need a professional?
For the plug-and-play harnesses described in this guide, most DIYers with basic mechanical skills can successfully complete the installation. However, if you’re uncomfortable working with electrical wiring or have a more complex setup, consulting a professional is always a good idea.
5. How do I know if the wiring harness is compatible with my trailer?
The most important factor is the connector type. If your trailer has a 4-pin connector, you need a 4-pin harness. If it has a 7-pin connector, you need a 7-pin harness. Double-check the wiring diagram on your trailer or consult your trailer’s manual if you are unsure.
